For recording fingerprints and palmprints, there are three common ways. And for their collection, the forensic technique is used. Before going through possible ways of recording palmprints. Let’s have a look at the best practices for recording palmprints.
Best Practices for Recording Palm Prints
- Make sure your finger and palm area is clean, dry, and dirt-free.
- If an inking plate is used, make sure it doesn’t have any other fluid or material.
- If hands are too dry, apply a small amount of hand moisturizer (only when recording palmprints using ink)
- Allow your finger to dry at room temperature if it is too wet.
- If fingers are sweating excessively, clean them with rubbing alcohol or alcohol wipes and then dry them.
4 Ways of Recording Palm Prints
There are four ways to record a palm print.
1. Recording Palm Prints using Ink Roller
A roller and cylindrical device is used by authorities by recording palm prints over the paper. The cylindrical device ensures complete inking of all friction ridges in the palm area.
Equipment: Inking plate, ink roller, and cylindrical device approx 3” in diameter with standard 8” x 8” card.
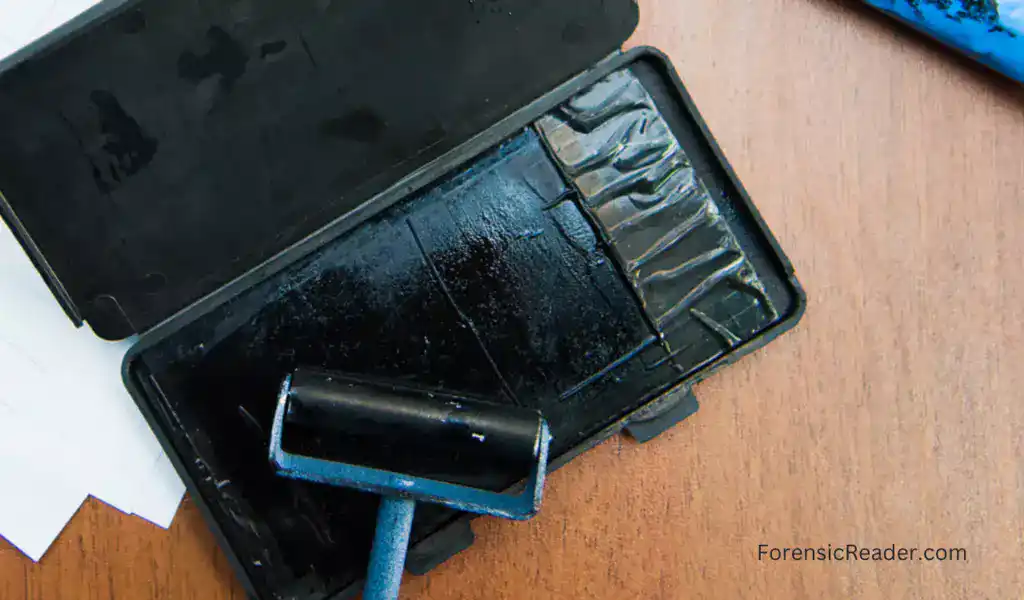
- The roller is loaded with an ink plate.
- Make sure all areas are covered with ink.
- Place the palm base on the cylindrical device and move it toward the tips of your fingers.
- Remove the tapes holding 8” x 8” cards from the cylindrical device.
- In case of smudge ridge marks, the process can be repeated on a new card.
2. Using Adhesive Lifting Material
The process involves the use of flexible gel or adhesive lifter and black fingerprint powder.
Material Required: Adhesive lifter, black fingerprint powder, and fingerprint brush.
Procedure:
- Take the black fingerprint powder with a brush and move it over the palm surface.
- Remove the protective layer from the adhesive lifters.
- Place your palm area over the lifters and press it gently.
- For better results use thick flexible adhesive tapes or lifters.
- The lifter is then peeled from the palm from the tip of the finger.
- Preserve the lifter using a clear acetate solution.
Read More: Palm Print Recognition System: Need, Uses, and Working
3. Recording Palmprint Using LiveScanner
Livescan fingerprint devices are like regular scanners but they are strictly used to capture the palm and finger ridge details. They are used by certified officials in government agencies.
P.S. Some of the Live scan fingerprinting devices support rolled fingerprints with a range of fps (10fps is minimum). This doesn’t mean they are cylindrical screens. Actually, they are flat, and your fingers are rolled from nail to nail.
Equipment: LiveScan Fingerprinting device and computer system with installed live scanning software.
Procedure:
- Instructors may ask you to place your thumbs over the glass plate.
- Once the thumbs are captured, the remaining 8 fingers from both hands are rolled one by one (or combined).
- Lastly, whole palm ridge details with fingerprints are scanned.
- The output of all the scanned ridges could be seen directly over the computer screen.
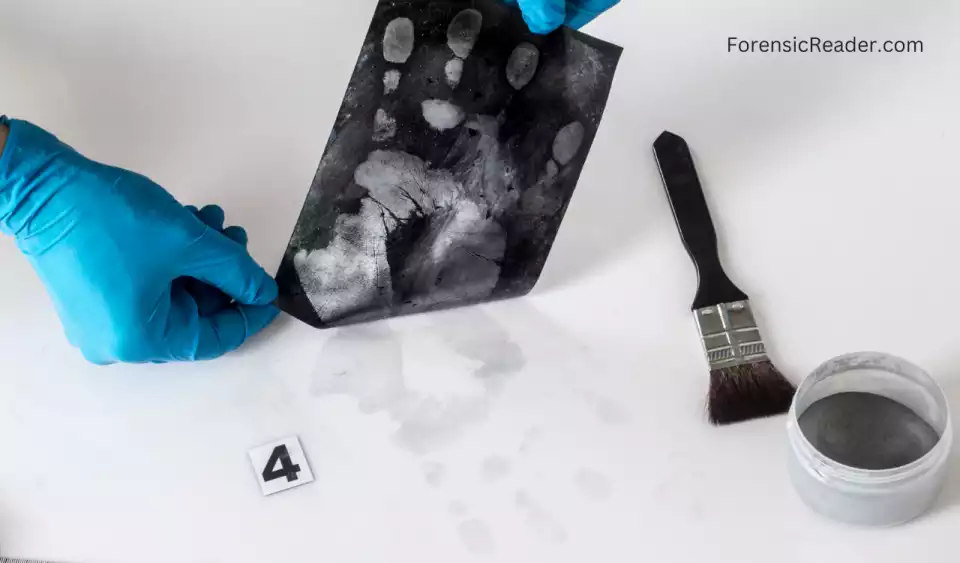
4. Recording by Developing Latent Palmprints
If you don’t have a livescan system or don’t want to wet your fingers with ink or powder then this is the easiest method that doesn’t involve any messy things to your hands. I am going to show you how you can use your sweat to record your handprint.
Material Required: Fingerprint brush (or any soft brush), fingerprint powder (or homemade non-conventional powder), and a4 glossy sheet.
Procedure:
- Make a fist or wear latex or vinyl gloves so that your hands get sweaty.
- Remove the gloves and place your hand directly over an A4 sheet and press gently.
- Use a fingerprint brush with powder and move it over the fingerprints.
- Powder starts to stick on sweat particles and develops ridge details of your hand (both palm and fingerprint).
- Use a wide tape to preserve the developed marks.
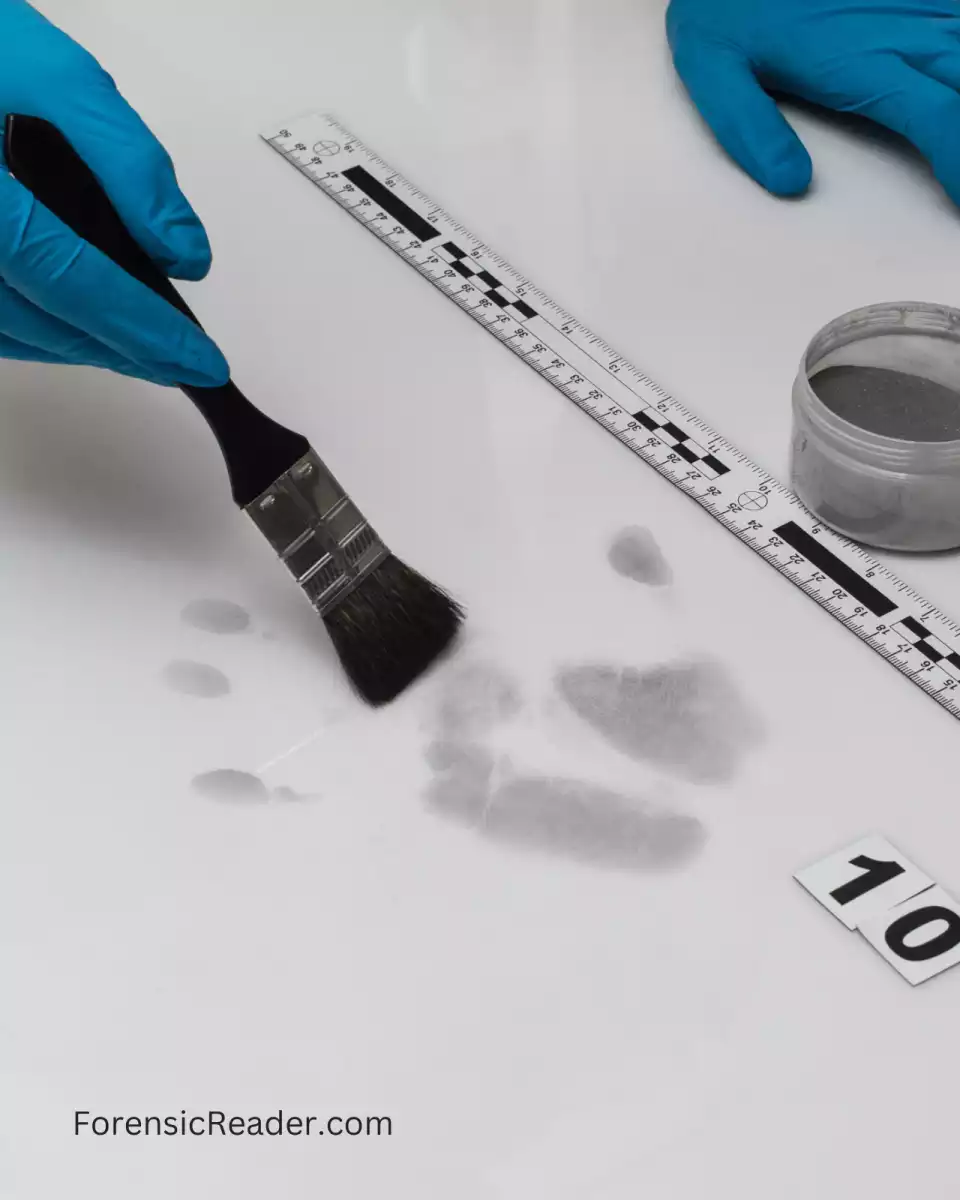
How Palm Prints are Collected at Crime Scene?
Palm Prints are usually latent and need further development to make them visible. For this various types of fingerprint powder and chemical methods can be employed. Following is the list of methods that can be used to collect palm prints from crime scenes.
| Plastic Surface | Developing Agents |
|---|---|
| Smooth Surface (Dark) | White powder, Cyanoacrylate fuming (CAF) |
| Smooth Surface (Light) | Black powder, Red powder, Ninhydrin |
| Porous Surfaces (Dark) | Cyanoacrylate fuming (CAF), Iodine fuming |
| Non-Porous Surfaces (Light) | Supeglue, Amido black |
Once the palm print is developed, the investigator has to determine whether he/she lifts the prints or not.
If the palm prints are on the clothes or paper then lifting should be avoided. However, developed ridge details on smooth surfaces can be lifted using tape lifters or silicone lifters.
Note: Forensic Photography should be done at all the phases i.e. before development under ALS light, after palmprint development, and finally after lifting palmprints.
References:
- Encyclopedia of Forensic Sciences by Elsevier [ScienceDirect]
- Computational Intelligence in Digital Forensics: Forensic Investigation and Applications [Google Books]
- Touchless Palmprint Recognition Systems [Books]
- Palm print Classification based on inter-Distal Region Texture features [Academia]
- The Fingerprint Sourcebook by FBI
- Frictional Ridge Skin: Comparison and Identification of Fingerprint

FR Author Group at ForensicReader is a team of Forensic experts and scholars having B.Sc, M.Sc, or Doctorate( Ph.D.) degrees in Forensic Science. We published on topics on fingerprints, questioned documents, forensic medicine, toxicology, physical evidence, and related case studies. Know More.
Pingback: Palm Print Recognition System: #Need, Uses, & Working